LaTeX is a good tool for creating articles or books. However, when it comes to inserting figures, it is a very cumbersome process. This tutorial will show the steps for producing LaTeX documents with figures. For the purpose of this tutorial, we will use a graph from an excel document.
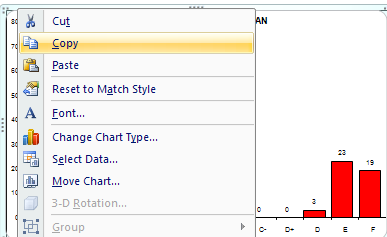
Step 1: Highlight (left click) the graph in the excel file.
Step 2: Copy the graph into memory. Right click and select Copy. (or just press and hold Ctrl, and then press c)
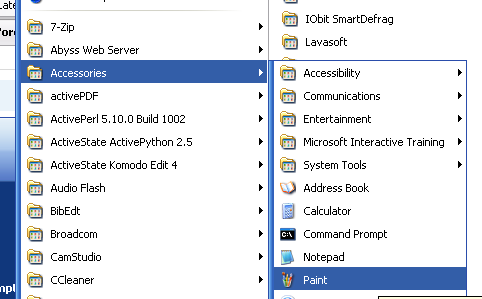
Step 3: Open Paint application. Click on the Start button, choose All Programs > Accessories > Paint.
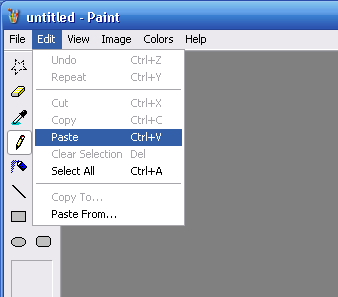
Step 4: Paste the graph that we have just copied into Paint. Click on Edit > Paste. (or just press and hold Ctrl, and then press v)
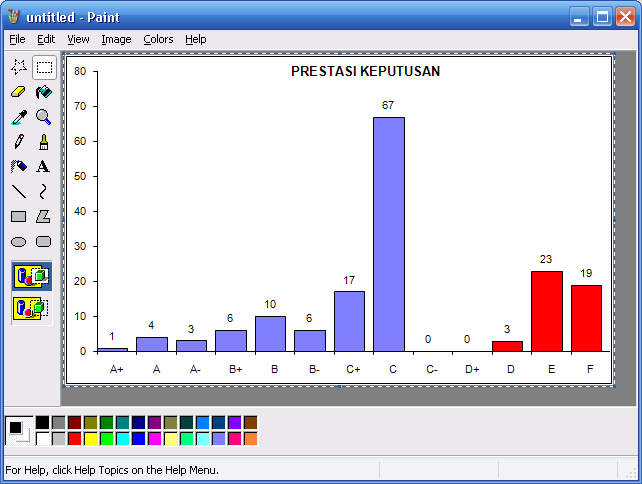
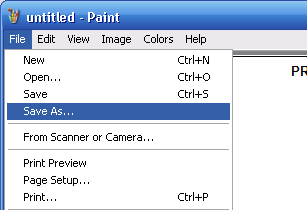
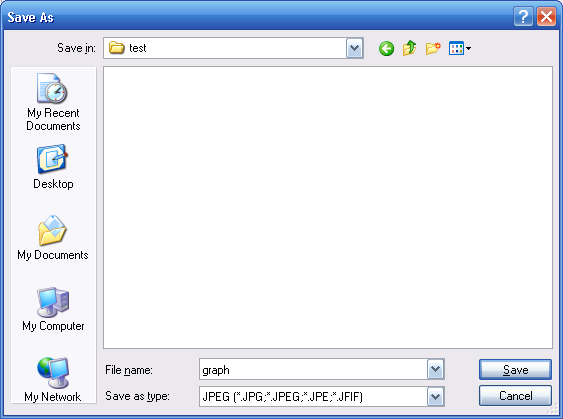
Step 5: Now we are going to save our graph in JPEG format. Click File > Save As. A "Save As" dialog box will opened. Type the file name - graph. For the "Save as type" choose JPEG. For simplicity, make sure that the graph is saved in the save folder as the LaTeX document. Then, click on the save button.
Step 6: Open the LaTeX document, and type the following LaTeX code:
\begin{figure}[htp]
\centering
\includegraphics{graph}
\caption{Some graph}
\label{fig:graph}
\end{figure}
Don't forget to import the graphicx package, by inserting
\centering
\includegraphics{graph}
\caption{Some graph}
\label{fig:graph}
\end{figure}
\usepackage{graphicx}
at the top of the LaTeX document.Step 7: Now we can produce the pdf document, using the pdflatex command.
note: This tutorial assumed that we are going to produce a pdf file, since pdflatex only accept PDF, PNG, JPEG and GIF format. For producing a postscript or dvi file, we need to convert the JPEG file (graph.jpg) to eps format. It could be done using tools such as jpeg2ps. However, it is beyond this tutorial.